

Hey there, pond enthusiasts! If you're like me, you've got a beautiful pond that you pour your heart and soul into. And at the heart of that pond is your submersible pond pump, working hard to keep the water flowing and your aquatic friends happy. But sometimes, things go wrong, and one of the most common issues you might face is a worn-out impeller. Don't worry, though – replacing the impeller in a submersible pond pump is a task that you can totally handle on your own. As a submersible pond pump supplier, I've seen it all, and I'm here to walk you through the process step by step.
Why Replace the Impeller?
Before we dive into the how-to, let's talk about why you might need to replace the impeller in the first place. Over time, the impeller can wear down due to normal use, or it might get damaged by debris in the water. When this happens, the pump's performance can suffer. You might notice reduced water flow, strange noises coming from the pump, or even complete pump failure. Replacing the impeller can restore your pump to its former glory and keep your pond in tip-top shape.

What You'll Need
First things first, gather all the tools and materials you'll need for the job. Here's a quick list:
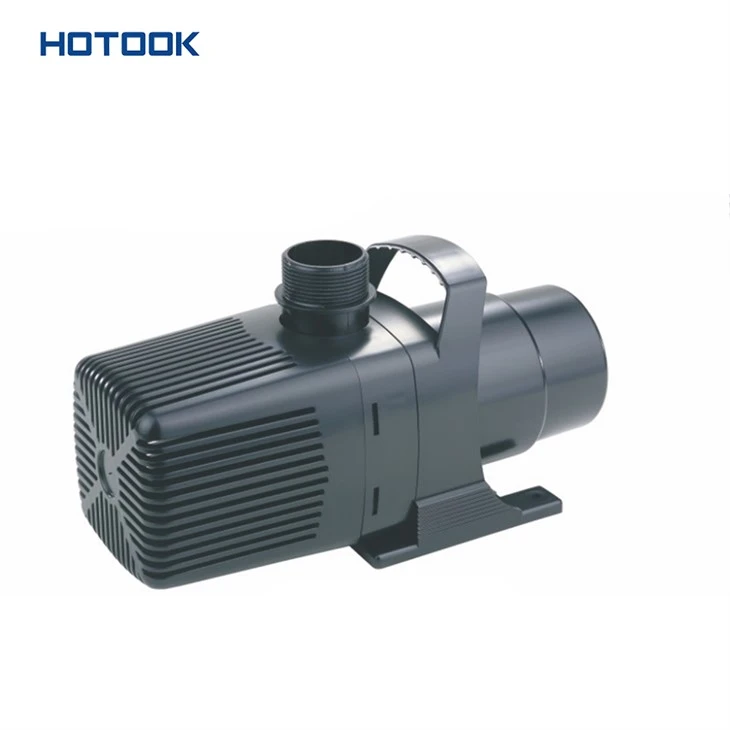
- A replacement impeller (make sure it's the right one for your pump model). You can find a wide range of high-quality impellers and pumps on our website, like the High Power Fish Pond Submersible Pump, Fish Pond Small Submersible Pond Pump, and Stamping Submersible Pond Pump.
- A set of screwdrivers (usually Phillips and flathead).
- A pair of pliers.
- A clean, dry cloth.
- A small container to hold any small parts you remove.
Step 1: Safety First
Before you do anything, make sure the pump is turned off and unplugged from the power source. This is crucial to avoid any electrical shocks. You don't want to end up in the hospital because you forgot this simple step! Also, if your pump is in the pond, you might want to drain some of the water around it to make it easier to work on.
Step 2: Remove the Pump from the Pond
Carefully lift the pump out of the pond and place it on a clean, dry surface. You might want to use a pair of gloves to protect your hands from any sharp edges or debris. Take a good look at the pump and make sure you know where all the parts are and how they fit together.
Step 3: Access the Impeller
Most submersible pond pumps have a housing that covers the impeller. Use your screwdriver to remove the screws holding the housing in place. Be careful not to lose the screws – you'll need them later. Once the screws are out, gently pry off the housing with your pliers. You might need to wiggle it a bit to get it loose.
Step 4: Remove the Old Impeller
Once you've removed the housing, you'll see the impeller. It's usually attached to the motor shaft with a small nut or clip. Use your pliers to remove the nut or clip, and then carefully pull the impeller off the shaft. If the impeller is stuck, you can try gently tapping it with a rubber mallet to loosen it. Be careful not to damage the motor shaft or any other parts of the pump.
Step 5: Clean the Pump
Now that the old impeller is out, take a moment to clean the inside of the pump housing and the motor shaft. Use your clean, dry cloth to wipe away any dirt, debris, or algae. This will help the new impeller work more efficiently and prevent any future problems.
Step 6: Install the New Impeller
Take your new impeller and carefully slide it onto the motor shaft. Make sure it's seated properly and aligned with the shaft. Then, use your pliers to reinstall the nut or clip that holds the impeller in place. Tighten it securely, but don't over-tighten it – you don't want to damage the impeller or the motor shaft.
Step 7: Reassemble the Pump
Once the new impeller is installed, it's time to put the pump back together. Carefully place the housing back over the impeller and align it with the screw holes. Use your screwdriver to reinstall the screws and tighten them firmly.
Step 8: Test the Pump
Before you put the pump back in the pond, it's a good idea to test it to make sure it's working properly. Plug the pump into the power source and turn it on. Listen for any strange noises or vibrations, and check the water flow. If everything seems to be working okay, you're good to go!
Step 9: Return the Pump to the Pond
Carefully lower the pump back into the pond and make sure it's properly positioned. Plug it back into the power source and let it run for a few minutes to make sure everything is working as it should.
Troubleshooting
If you encounter any problems during the process, don't panic. Here are a few common issues and how to fix them:
- The pump won't turn on: Double-check that the pump is plugged in and that the power switch is turned on. Also, make sure the circuit breaker hasn't tripped.
- The water flow is still low: Check for any blockages in the pump or the intake hose. You might need to clean the pump again or replace the intake hose.
- The pump is making strange noises: This could be a sign of a problem with the impeller or the motor. Turn off the pump and check the impeller to make sure it's installed correctly and not damaged. If the problem persists, you might need to contact a professional for further assistance.
Conclusion
Replacing the impeller in a submersible pond pump might seem like a daunting task, but it's actually quite simple if you follow these steps. By doing it yourself, you can save money on repair costs and keep your pond looking beautiful. And remember, if you ever need a replacement impeller or a new pump, we've got you covered. Check out our High Power Fish Pond Submersible Pump, Fish Pond Small Submersible Pond Pump, and Stamping Submersible Pond Pump on our website for high-quality products at great prices.
If you have any questions or need more information, don't hesitate to reach out to us. We're always happy to help you with your pond pump needs. Whether you're a seasoned pond keeper or just starting out, we're here to support you every step of the way. So, what are you waiting for? Get out there and give your pond pump the TLC it deserves!
References
- Pond Pump Maintenance Guide, Various Authors.
- Submersible Pump Repair Manuals, Manufacturer Publications.