

Hey there, pond enthusiasts! If you're a proud owner of a submersible pond pump, you know how crucial it is to keep it in top - notch condition. One common issue that might pop up is a damaged cable. In this blog, I'll walk you through the process of replacing the cable in a submersible pond pump. And just so you know, I'm a supplier of submersible pond pumps, so I've got the know - how and the products to back it up.
Why Replace the Cable?
First off, let's talk about why you might need to replace the cable in your submersible pond pump. Over time, the cable can get worn out due to constant exposure to water, sunlight, and physical stress. A frayed or damaged cable can not only affect the performance of your pump but also pose a safety hazard. If you notice any signs of damage, such as exposed wires, cuts, or cracks in the cable, it's time to take action.
Tools and Materials You'll Need
Before you start the cable replacement process, gather the following tools and materials:
- A new cable: Make sure it's the right length and gauge for your pump. You can find suitable cables at your local hardware store or order them from a reliable supplier like us.
- Wire strippers: These are essential for removing the insulation from the wires.
- Electrical tape: To insulate the connections and prevent any short - circuits.
- Heat shrink tubing: This provides an extra layer of protection for the connections. You'll also need a heat gun to shrink the tubing.
- A pair of pliers: For twisting and securing the wires.
- A screwdriver: To open the pump housing if necessary.
Step - by - Step Guide to Replacing the Cable
Step 1: Safety First
Before you do anything, turn off the power supply to the pump. This is extremely important to avoid any electrical shocks. You can either unplug the pump from the outlet or switch off the circuit breaker that controls the pump.
Step 2: Remove the Pump from the Pond
Carefully lift the pump out of the pond and place it on a dry, clean surface. Make sure to handle it gently to avoid any further damage.
Step 3: Open the Pump Housing
Using a screwdriver, remove the screws that hold the pump housing together. Be careful not to lose any of the screws. Once the housing is open, you'll be able to access the internal components of the pump, including the old cable.
Step 4: Disconnect the Old Cable
Locate the point where the old cable is connected to the pump's motor. There are usually small terminals or connectors that hold the wires in place. Use a pair of pliers to gently loosen these connectors and remove the old cable from the motor.
Step 5: Prepare the New Cable
Measure and cut the new cable to the appropriate length. Use wire strippers to remove about half an inch of insulation from the ends of the new cable. Make sure to expose enough wire to make a good connection.
Step 6: Connect the New Cable
Take the exposed ends of the new cable and connect them to the corresponding terminals on the pump's motor. Twist the wires together tightly and use a pair of pliers to secure the connection. You can also use a small amount of solder to make the connection more secure, but this step is optional.
Step 7: Insulate the Connections
Once the wires are connected, wrap each connection with electrical tape. Make sure to cover the exposed wires completely to prevent any short - circuits. Then, slide a piece of heat shrink tubing over each connection and use a heat gun to shrink the tubing. This will provide an extra layer of protection.
Step 8: Reassemble the Pump Housing
Carefully place the internal components back into the pump housing and secure it with the screws. Make sure the housing is tightly sealed to prevent water from entering the pump.
Step 9: Test the Pump
Before putting the pump back into the pond, it's a good idea to test it. Plug the pump into the power supply and turn it on. Check if the pump is working properly and if there are any signs of leakage or electrical problems.
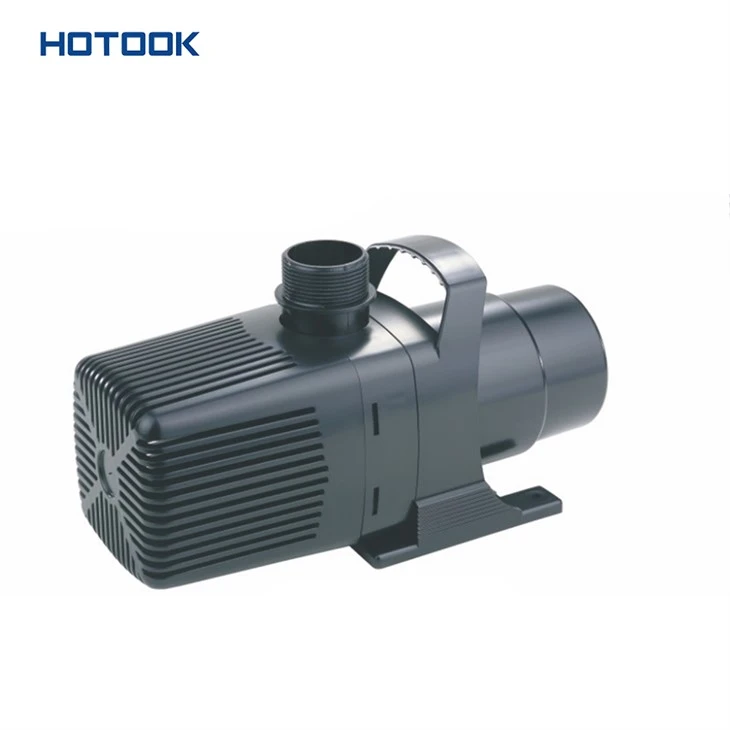

Step 10: Return the Pump to the Pond
If the pump is working fine, carefully lower it back into the pond. Make sure it's properly positioned and secured.
Our Product Recommendations
As a submersible pond pump supplier, we offer a wide range of high - quality pumps to meet your needs. Check out our Submersible Circulating Filter Pump, which is perfect for keeping your pond water clean and well - circulated. If you have a small fish pond, our Fish Pond Small Submersible Pond Pump is a great choice. And for those looking for a durable and reliable pump, our Stamping Submersible Pond Pump won't disappoint.
Conclusion
Replacing the cable in a submersible pond pump might seem like a daunting task, but with the right tools and a little bit of know - how, you can do it yourself. By following the steps outlined in this blog, you can ensure that your pump continues to work efficiently and safely. If you have any questions or need further assistance, don't hesitate to reach out to us. We're here to help you keep your pond in great shape. Whether you're looking for a new pump or just need some replacement parts, we've got you covered. So, if you're in the market for a submersible pond pump or related accessories, feel free to contact us for more information and to start a procurement discussion.
References
- "Pond Pump Maintenance Guide" - A general guide on maintaining pond pumps, available at local library resources.
- "Electrical Wiring Handbook" - A comprehensive guide on electrical wiring, which can be found in most hardware stores.