

Hey there! I'm a supplier of optical fiber lights, and I often get asked about how to install these cool lights in small spaces. It might seem a bit tricky at first, but with the right know - how, it's actually quite doable. In this blog, I'll walk you through the whole process step by step.
Why Choose Optical Fiber Lights for Small Spaces
First off, let's talk about why optical fiber lights are a great choice for small areas. These lights are super flexible. You can bend and shape the fibers to fit into tight corners and unique spaces where traditional lighting might not work. They also give off a soft, diffused glow that can create a really cozy and inviting atmosphere. Whether it's a small bedroom, a tiny bathroom, or a compact office nook, optical fiber lights can add a touch of magic.
We offer a variety of optical fiber lights, like the Pool Optical Fiber Light, the RGB Star Optical Fiber Light, and the Side Emiting Optical Fiber Light. Each type has its own unique features and can be used in different ways to light up your small space.
Step 1: Planning Your Installation
Before you start sticking fibers everywhere, you need to have a plan. First, decide what kind of effect you want to achieve. Do you want a starry - night look on your ceiling? Or maybe a soft, glowing border around a mirror? Sketch out your ideas on paper or use a simple design app to visualize how the lights will look.
Next, measure the space. You'll need to know how much optical fiber you'll need. It's always a good idea to buy a little extra, just in case you make a mistake or want to add more lights later. Consider the power source as well. Most optical fiber light systems come with a control box that needs to be plugged into an electrical outlet. Make sure there's a convenient outlet near your installation area.
Step 2: Gathering Your Tools
Once you have a plan, it's time to gather the tools you'll need. You'll definitely need a pair of sharp scissors to cut the optical fibers to the right length. A staple gun or adhesive tape can be used to secure the fibers in place. If you're installing the lights on a hard surface like wood or drywall, a drill and small screws might come in handy. You might also want to have a ladder if you're working on the ceiling.
Step 3: Preparing the Control Box
The control box is the brain of your optical fiber light system. It's where the light source is located, and it controls the color and intensity of the lights. First, find a safe and dry place to install the control box. It should be close to an electrical outlet but out of the way of any potential water splashes or damage.
Once you've found a spot, plug the control box into the outlet. Make sure it's working properly by turning it on and checking if the light source inside is lighting up. Some control boxes allow you to change the color and pattern of the lights. Familiarize yourself with these settings before you start installing the fibers.
Step 4: Cutting and Installing the Optical Fibers
Now comes the fun part - cutting and installing the optical fibers. Start by cutting the fibers to the desired length using your sharp scissors. Be careful not to crush or damage the fibers while cutting.
If you're creating a starry - night effect on the ceiling, you can use a staple gun to attach the fibers to the ceiling. Space the fibers out evenly to create a natural - looking pattern. If you're installing the lights along a wall or a border, you can use adhesive tape to stick the fibers in place.
For a more permanent installation, especially on a hard surface, you can drill small holes and use screws to secure the fibers. Just make sure the holes are small enough so that the fibers fit snugly.
Step 5: Connecting the Fibers to the Control Box
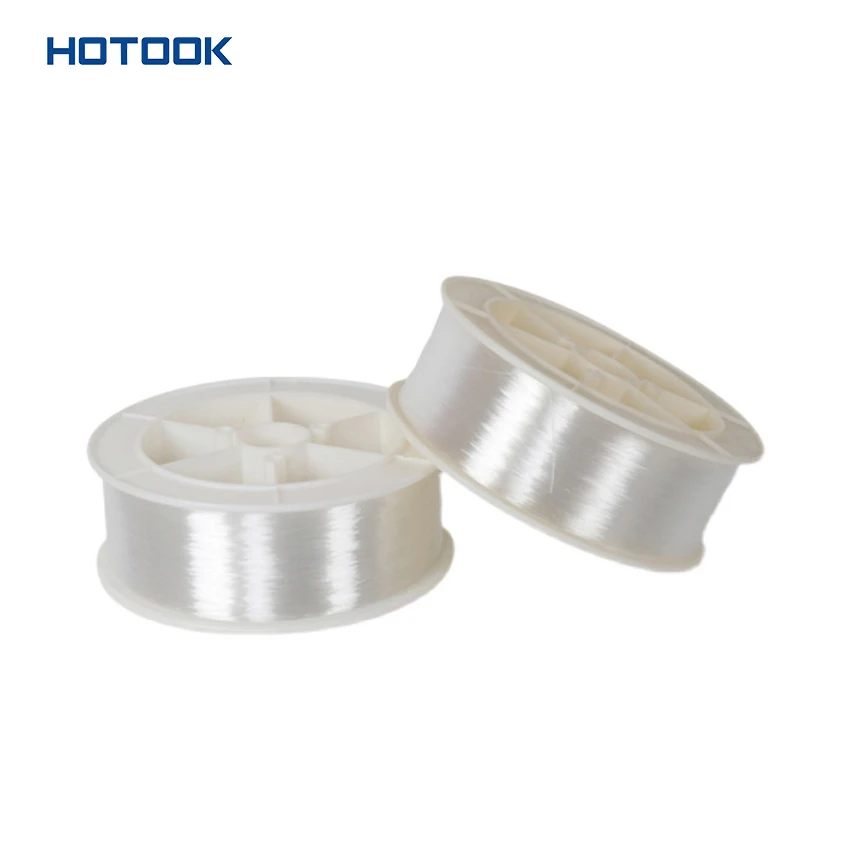
Once you've installed the fibers, it's time to connect them to the control box. Most optical fiber light systems come with a connector at the end of the fibers. Simply insert the connector into the corresponding slot on the control box. Make sure it's a tight fit to ensure that the light is transmitted properly through the fibers.

Step 6: Testing and Adjusting
After you've connected all the fibers, turn on the control box and test the lights. Check if all the fibers are lighting up and if the color and pattern settings are working as expected. If you notice any fibers that aren't lighting up, check the connection at the control box and make sure the fiber isn't damaged.
You can also adjust the position of the fibers to create the perfect look. If some areas are too bright or too dim, you can move the fibers around or add more fibers to balance the lighting.
Step 7: Finishing Touches
Once you're happy with the way the lights look, it's time to add the finishing touches. You can use some decorative elements to hide the control box or any exposed wires. For example, you can use a small cabinet or a piece of fabric to cover the control box.
You can also add some small accessories to enhance the overall look. For example, if you're creating a starry - night effect, you can add some small glow - in - the - dark stickers around the fibers to make it look even more magical.
Contact for Purchase and Discussion
If you're interested in buying optical fiber lights for your small space, or if you have any questions about the installation process, feel free to reach out. We're always here to help you find the perfect lighting solution for your needs. Whether you're a DIY enthusiast or a professional designer, we have the products and expertise to make your project a success.
References
- General knowledge about optical fiber light installation from years of experience in the industry.
- Product manuals and guides provided by the manufacturers of optical fiber light systems.