

Installing a floating pool light can transform your swimming pool into a magical oasis, especially during the evening. As a floating pool light supplier, I'm here to guide you through the installation process, ensuring that you can enjoy the beauty and functionality of these lights with ease.
Step 1: Choose the Right Floating Pool Light
Before you start the installation, it's crucial to select the right floating pool light for your needs. There are various types available, each with its own features and benefits.
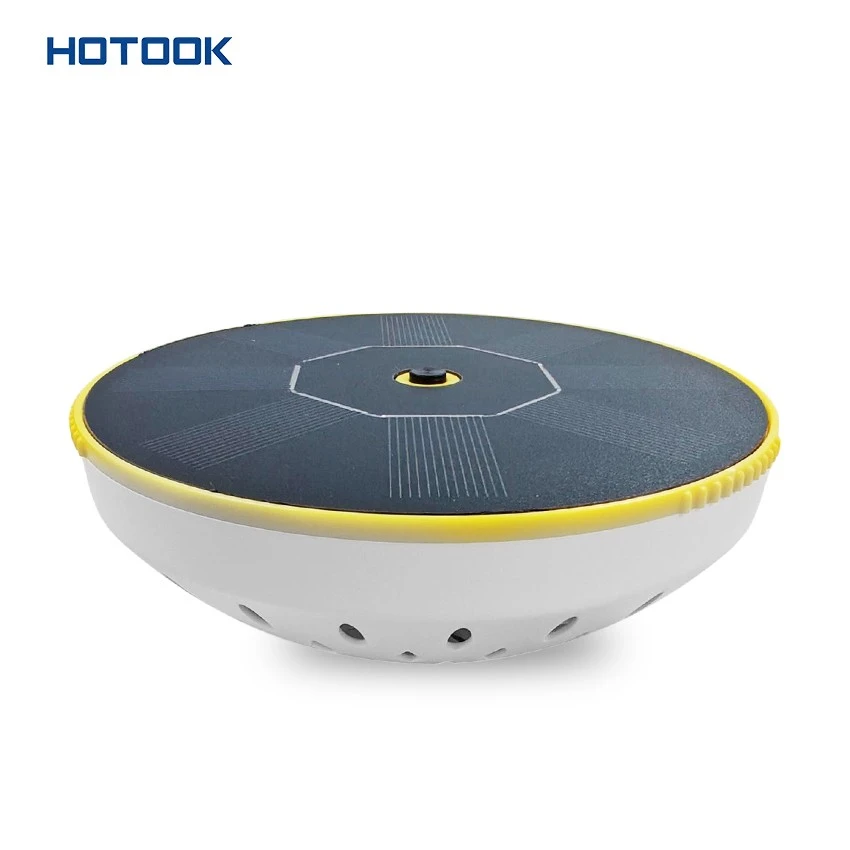
- Colorful Solar Powered Floating Pool Light: These lights are powered by the sun, making them energy - efficient and environmentally friendly. They come in a variety of colors, creating a vibrant and dynamic atmosphere in your pool. You can check out our Colorful Solar Powered Floating Pool Light for more details.
- Remote Control Floating Pool Lamp: With a remote control, you can easily change the colors, modes, and brightness of the light. This gives you more control over the lighting effect in your pool. Explore our Remote Control Floating Pool Lamp to see the options available.
- 16 Colors Waterproof LED Floating Pool Light: These LED lights offer 16 different colors, allowing you to customize the lighting according to your mood or the occasion. They are also waterproof, ensuring long - lasting performance in the pool. Learn more about our 16 Colors Waterproof LED Floating Pool Light.
Step 2: Unpack and Inspect the Light
Once you have chosen the right floating pool light, carefully unpack it from the box. Inspect the light for any visible damage during shipping, such as cracks, loose parts, or broken wires. If you find any issues, contact our customer service immediately, and we will assist you in resolving the problem.
Step 3: Prepare the Light for Use
- Battery Installation (if applicable): Some floating pool lights are battery - operated. If your light requires batteries, open the battery compartment and insert the appropriate batteries according to the polarity markings. Make sure the batteries are fresh and of the correct type to ensure optimal performance.
- Solar Panel Charging (for solar - powered lights): If you have a solar - powered floating pool light, place it in direct sunlight for a few hours to charge the internal battery. The charging time may vary depending on the sunlight intensity and the capacity of the battery.
Step 4: Place the Light in the Pool
- Positioning: Gently place the floating pool light in the pool. You can position it in the center of the pool for a more even distribution of light or near the edges for a more focused effect. Consider the shape and size of your pool when deciding on the placement.
- Avoid Obstacles: Make sure the light is not blocked by any obstacles, such as pool toys, floating debris, or pool equipment. This will ensure that the light can shine freely and create the desired lighting effect.
Step 5: Test the Light
- Turn On the Light: If your light has an on/off switch, turn it on to test if it is working properly. For remote - controlled lights, use the remote to switch the light on and check the different functions, such as color changing and mode selection.
- Check the Lighting Effect: Observe the lighting effect in the pool. If the light is not working as expected, double - check the battery installation, the charging status (for solar - powered lights), or the remote control settings.
Step 6: Maintenance and Care
- Regular Cleaning: To keep your floating pool light in good condition, clean it regularly. Use a soft cloth or sponge to wipe off any dirt, algae, or debris that may accumulate on the surface of the light.
- Storage: When the swimming season is over or you are not using the light for an extended period, store the light in a dry and cool place. Make sure to remove the batteries (if applicable) to prevent corrosion.
Step 7: Troubleshooting
- Light Not Turning On: If the light does not turn on, check the battery connection, the battery level, or the charging status. If the problem persists, contact our technical support team for further assistance.
- Dim or Flickering Light: A dim or flickering light may indicate a low battery or a problem with the internal components. Replace the batteries if necessary or contact us for a replacement or repair.
Conclusion
Installing a floating pool light is a simple and rewarding process that can enhance the beauty and functionality of your swimming pool. By following these steps, you can enjoy the magical lighting effect in your pool in no time.
As a floating pool light supplier, we are committed to providing high - quality products and excellent customer service. If you have any questions about our floating pool lights or need further assistance with the installation, please feel free to contact us. We are here to help you make the most of your pool lighting experience. Whether you are looking for a single light for a small pool or multiple lights for a large commercial pool, we have the right solution for you. Start transforming your pool today with our amazing floating pool lights!

References
- Pool Lighting Installation Guides from Industry Standards
- Product Manuals of Our Floating Pool Lights